How To Organize Your Blog Page
If you are a wellness coach/entrepreneur, chances are you have a blog on your website. Blogs are an amazing way to deliver free but content-rich information to your readers. It creates trust and develops a relationship with them.
But let's be honest... we have all gone to blog pages and been overwhelmed by the lack of organization. Blogs need to be easy to navigate and fun to read through. So below I will share a few of my favorite tips as you set-up your blog page.

Categories
You don't want to miss this step. Organizing your blog posts into categories will help your reader not only know the key topics you cover on your blog, but they can explore each category individually - especially if they came to your blog to read about something specific.
I believe that too many categories can confuse the reader; therefore, I suggest breaking your blogposts down into 3-10 categories. If you are a wellness coach, for example, your categories might me: Recipes, Mindfulness, Exercise, Lifestyle, and Beauty.
Note that blog posts can be added to multiple categories. So if you write a post that would fall into both Lifestyle and Exercise, then make sure to tag both categories to that post.
In the back end of your website platform, don’t forget to turn on the feature that shows the categories for each blog at the top of each post page, above the title.
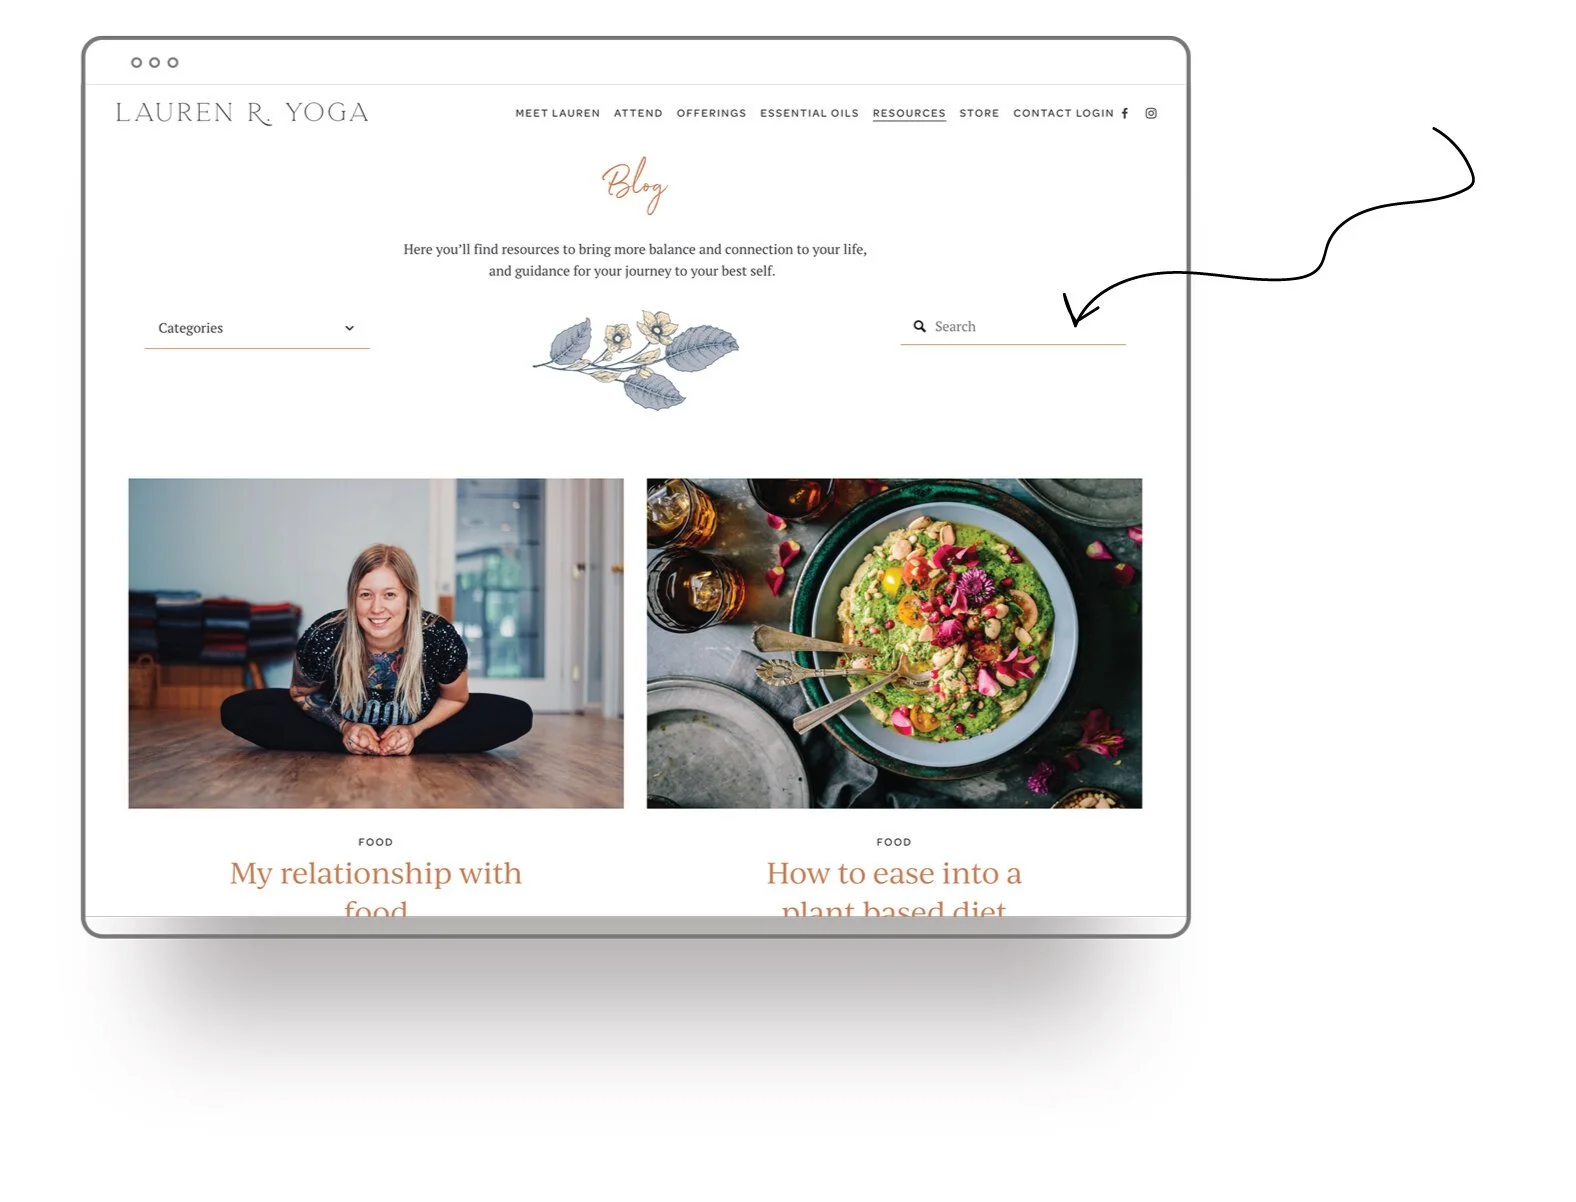
Tip: display your categories at the top of your blog page, to make it easier for readers to search through them (as shown below)

Search bar
I always love adding a search bar to the blogs I design. The point here is to make it as easy as possible for the reader to find the amazing content you spent so much time creating. Search bars are great when placed both at the top of the blog page, and on the sidebar (if you have one).
If you are using Squarespace, you can change the settings of your search bar on the Search Bar Block itself so it will only show search results for your blog pages, instead of the entire website.
Featured section
Also called the "Must Read" and "Most Popular" section, the featured section shows your reader the most read blog posts on your site. Since these are probably the most popular posts you have - and therefore probably the topics people are coming to your site to read - I would go ahead and place this section at the top of blog page, above the rest of the posts.
Take note that you might want to come in every few months and updated the featured section with the new most popular blogs you published.
If you are using Squarespace, you can create a featured section by using the Summary Block. Once you add it to the page, select the blog page you want to display, and then click on the Display tab and at the bottom select “Featured Filter”. Then go back to the posts you want shown here, then go to settings > option, and turn on the “Featured Post” button. Repeat this for all blog posts you want to be added.

Freebie
Freebies, also known as opt-ins, are the free offer you give to a reader when they join your newsletter. Adding a freebie lead magnet in the middle and/or end of your blog posts are great because, not only are you providing even more free value to your reader, but you are now turning a reader into a subscriber (you want this to happen!!!).
If using Squarespace, you will want to do this by either using the Newsletter Block and connecting it to your newsletter provider (like Mailchimp), or by embedding the code from your newsletter provider using the Code Block.

Call of action
End your blog posts strong by drawing in the reader to comment and share the post. To do so, engage with them and ask them a question related to the blog post. Then invite them to visit other pages on your site that might have something to do with what you wrote about.
You might also want to leave a link for them to schedule a free wellness consultation call with you, if this is something you offer.
Sidebar
Unlike everything I have mentioned so far, I would say that sidebars are not a complete MUST. And if you are using the new 7.1 version of Squarespace, you might have noticed that they don’t even offer a sidebar option anymore.
But if you do want to include a sidebar to your blog, this is what you will want to include in it:
A short bio with a link to your about page
Social media links
Buttons directing readers to your services and products
A search bar
Your categories
Ads (if this applies to you)
Comments Section
And lastly, don't forget to turn on the comments section ;]
Now have fun and make that blog page shine!!!
Was this blog post helpful?! Share it with a friends ;] We love to offer value, and by you sharing our content, we can continue to do so.

CONTINUE READING:


